Varnishing As Not As Hard As You Think
First start out with sanding the surface you wish to varnish, and then make sure the area you’re working in is totally clean. As the varnish dries slowly, it can attract bits of dust and dirt, so it is really important to place the piece in a very clean area.
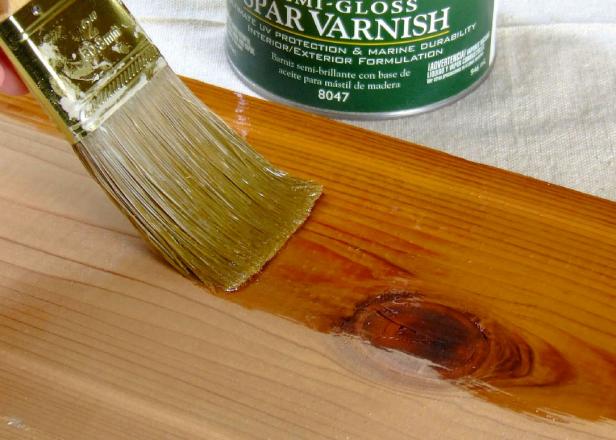
Using a new can of varnish and a high quality brush, start out by mixing the varnish with a stirring or popsicle stick. Make sure you mix it throughly but slowly so that air bubbles don’t form. Don’t shake the can for the same reason. Pour the varnish into a plastic container with volume measurements.

Varnish Brush
You might consider adding paint thinner like gym turpentine in order to help prevent air bubbles and streaks. Start out with 20-25% thinner in the first coat of varnish, and then about 5-10% thinner for the second coat.
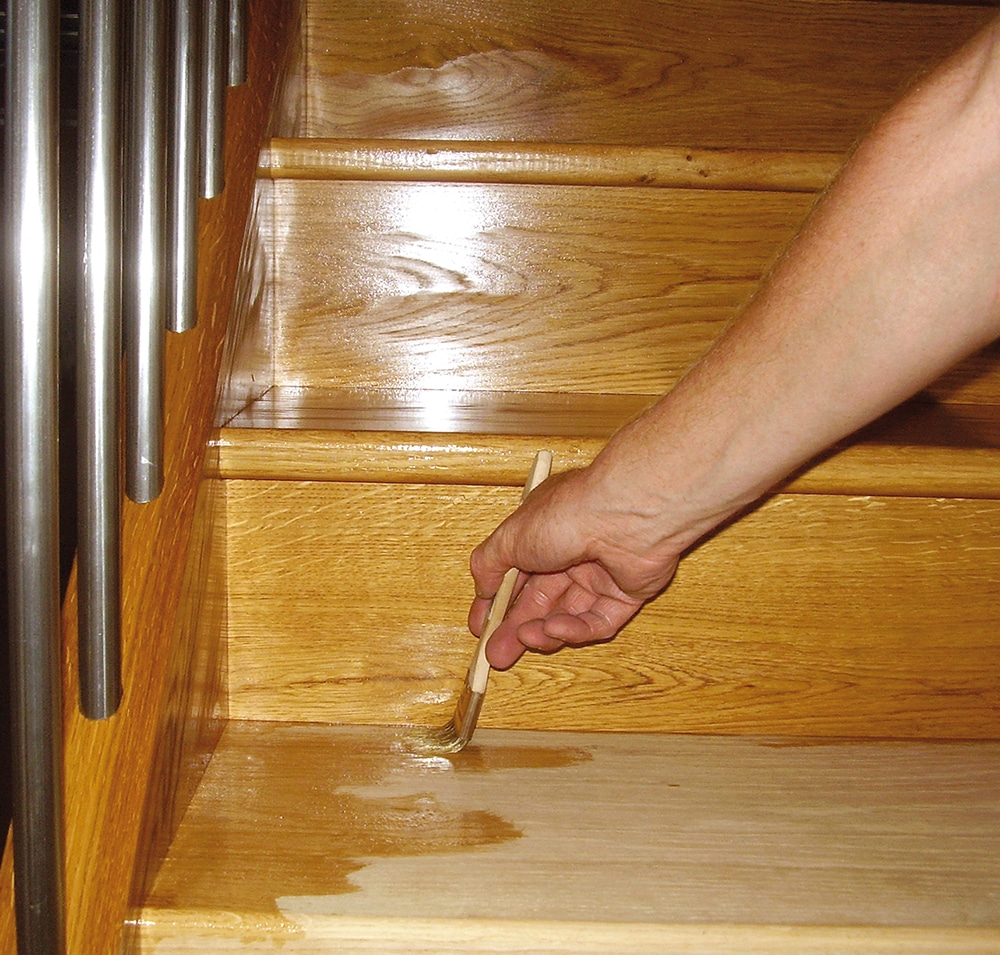
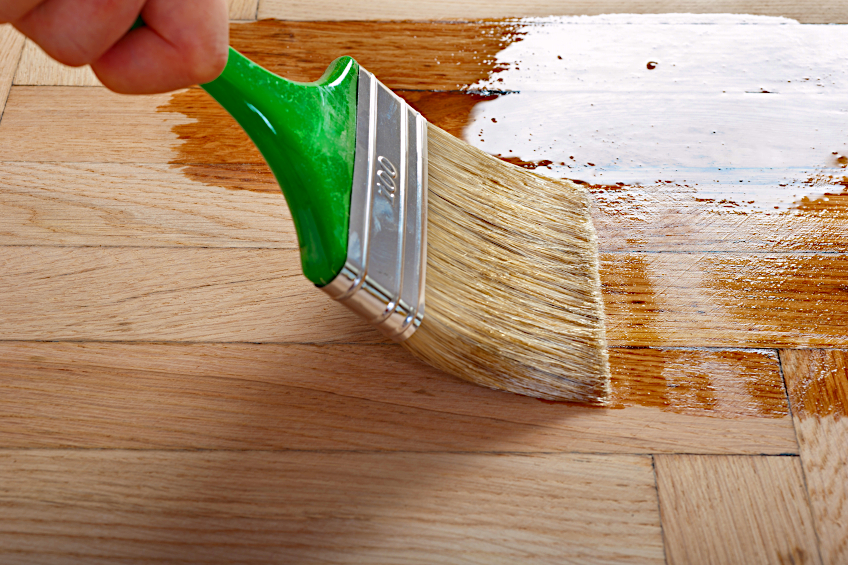
Working with a light touch, start in the upper left hand corner of the surface you’re varnishing. Brush in the direction of the wood grain and avoid going back and forth. Continue until the whole surface is covered in a coating. When the varnish is still wet, you will then “tip off” by dragging the tip of the brush over the surface to get rid of streaks and bubbles. Make sure you go in the same direction as the wood grain – the same direction of the application stroke.
In order to make sure you get the best results, apply a few thin coats as opposed to one thick one. Let each coat cure overnight. Once cured, gently sand the piece with 320-grit abrasive paper. Wipe away any residue and then enjoy your beautiful piece of furniture!

Apply Several Thin Coats As Opposed To One Thick Coat


