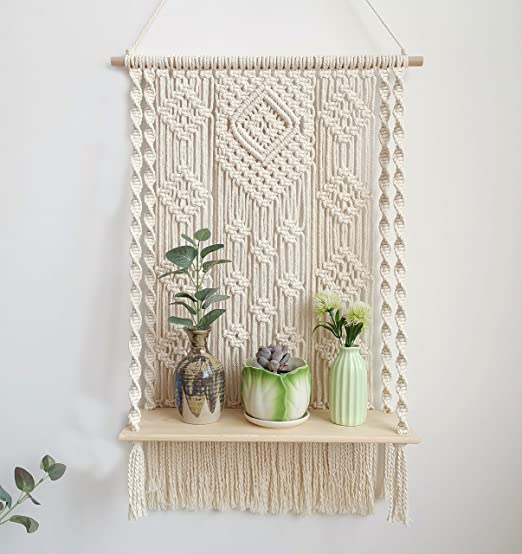
Macrame Plant Holder
Supplies You Need
Before you even start learning knots, you’ll need to equip yourself with macrame cord, which is really any twine, rope, or cord that’s made out of cotton, jute, hemp, or any other synthetic material.
You’ll also need a support mechanism to tie the knots to, which can be done with branches, hoops, rings, or dowel rods.
Of course, you’ll also need a good pair of scissors to work with and cleanly cut your cord.
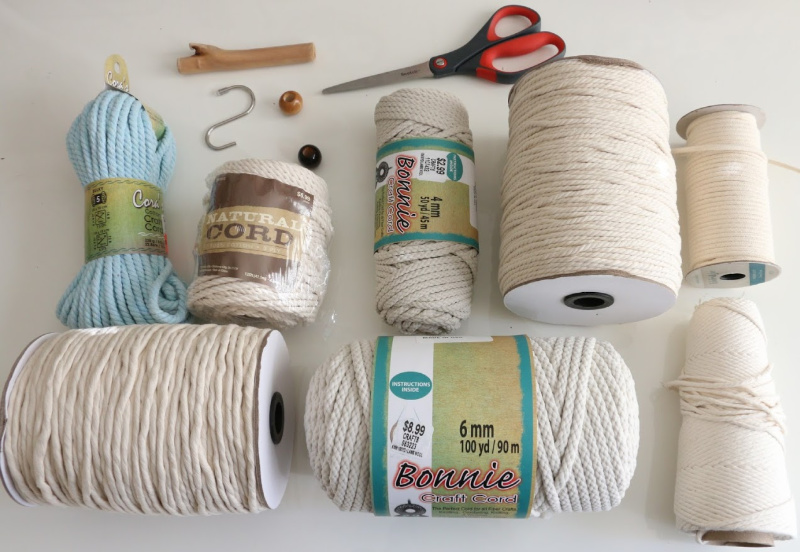
Macrame Supplies
The Terminology
Before you get started, familiarize yourself with the following terms to make your life much easier going forward.
Working cord – the cord (or set of cords) that will be used for the knots themselves
Filler cord – the cord that you’ll wrap the knots around
Sennit – a knot or set of knots that are used repeatedly
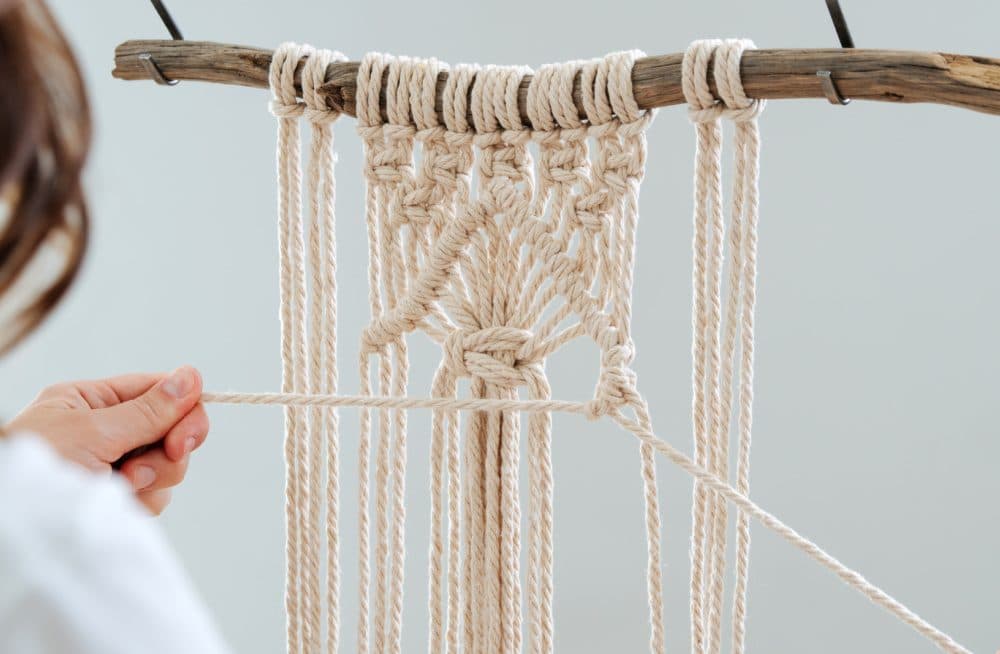
Familiarize Yourself With The Terminology
Cow Hitch or Lark’s Head Knot
This knot will be the first one to know. This is the one you’ll use to attach the cord onto your support object, another cord, or a branch.
Fold the cord in half and put the loop onto the rod. Next, bring the loop around the back and lace the cord ends through the loop and tighten.
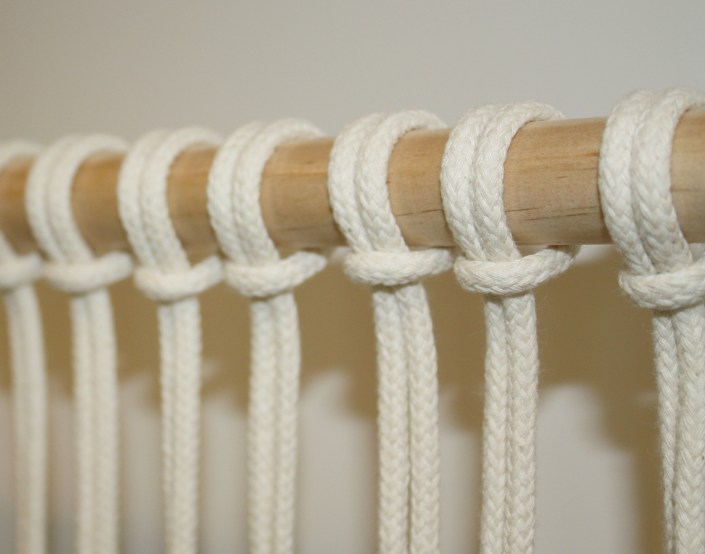
Lark’s Head Knot
Reverse Lark’s Head Knot
This is the same knot but in reverse, so that the bump will be in the back rather than front of the knot. Fold the cord in half but this time place it under the rod. Bring the loop around the front and pull the two cords through the loop and tighten.
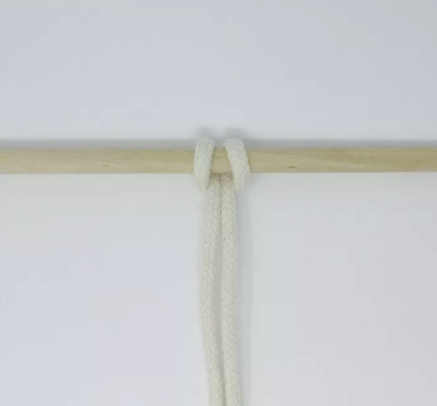
Reverse Lark’s Head Knot
Square Knots & Half Knots
Square knots are the most used knots and can be tied in a way that they are left or right facing. A half knot is simply half a square knot, which can also face either left or right.
Square knots use at the very least 4 cords, two working and two filler, but of course can use more. The first and last cords are the working (1 and 4), while the second and third are the filler (2 and 3). As you work, the cords will keep the same number but will change order.
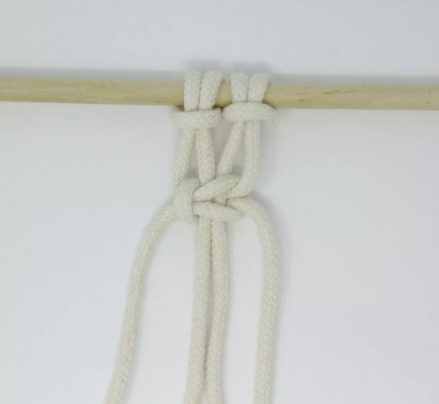
Left Facing Sqaure Knot
Left Facing Square/Half Knot
Take working cord 1 and move it to the right, just over cords 2 and 3 and under working cord 4.
Next, take working cord 4 and move it left under filler cords 2 and 3 and over cord 1.
Take working cord 4 and shift it to the left under filler cords 2 and 3 and again over working cord 1.
Pull the working cords 1 and 4 to tighten and keep the filler cords straight. This gives you a left facing half knot.
Now the working cords have switched places. Take working cord 1 and move to the left over cords 2 and 3 and under working cord 4. Next, take working cord 4 and move it to the right underneath cords 2 and 3 and over working cord 1.
Pull the working cords to tighten, making sure the cords 2 and 3 filler cords are straight. This is the left facing square knot.
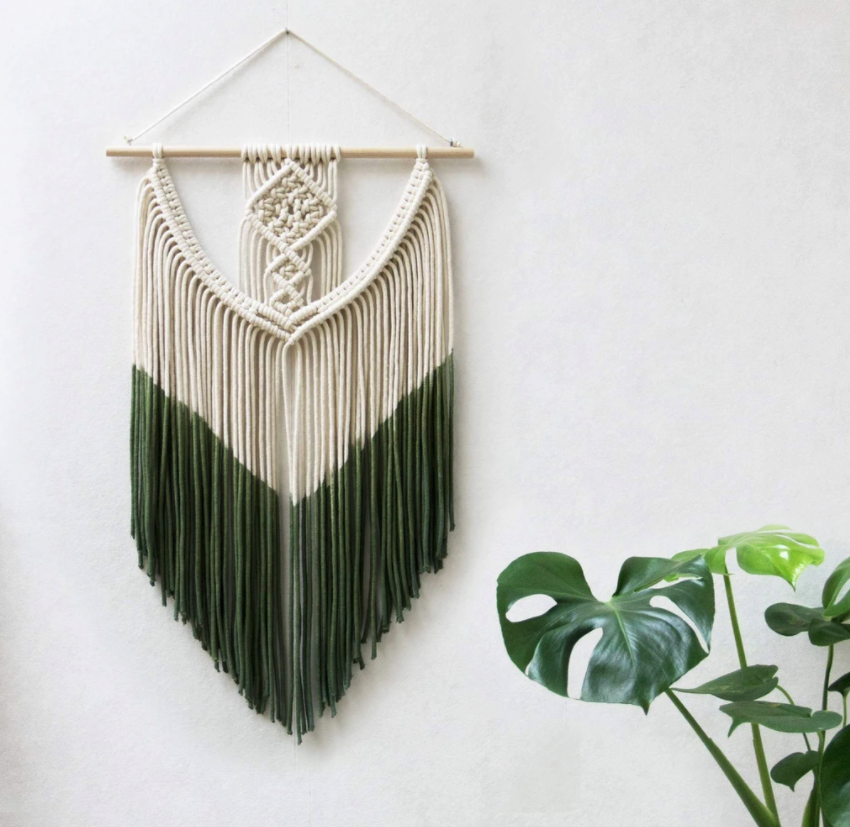
Macrame Wall Hanging


