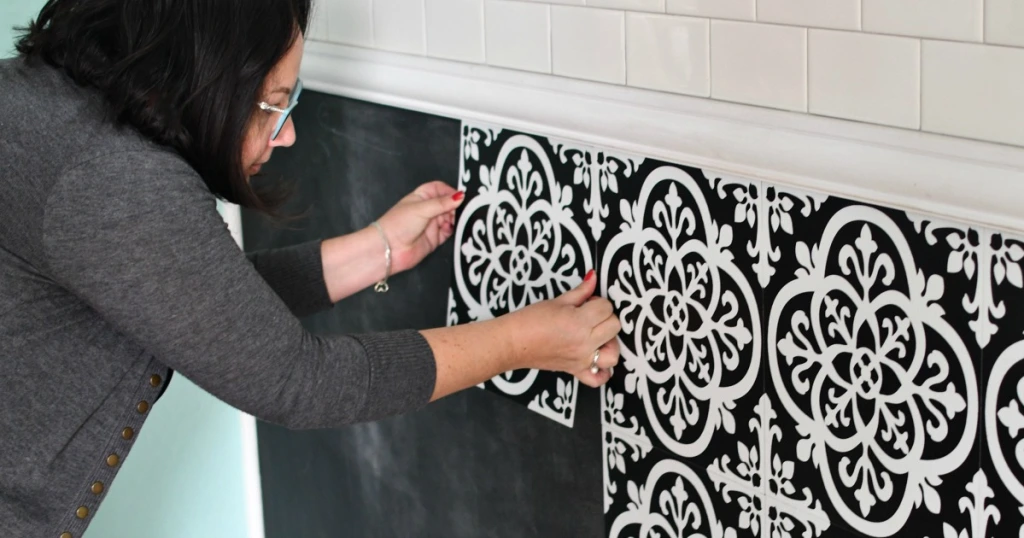
The adhesives on the back ensure easy application (and later removal if needed), while creating a fresh and new look. It’s seriously an amazing solution for a very frustrating problem. Best of all, it costs a tiny fraction of what redoing a bathroom would cost, and takes almost no time to completely.
There are some important things to keep in mind so that you avoid any damage to the surfaces beneath the stick on tiles. Make sure that you properly prepare the wall that you will be applying the sticker to.
Clean the area and allow to fully dry before beginning. You can scrape or sand off any protrusions or adhesives that are there, otherwise your new tile sticker could end up not laying flatly on the wall. These tiles can be used on painted drywall, ceramic, concrete, linoleum, and many other wall and floor materials commonly found in many homes.
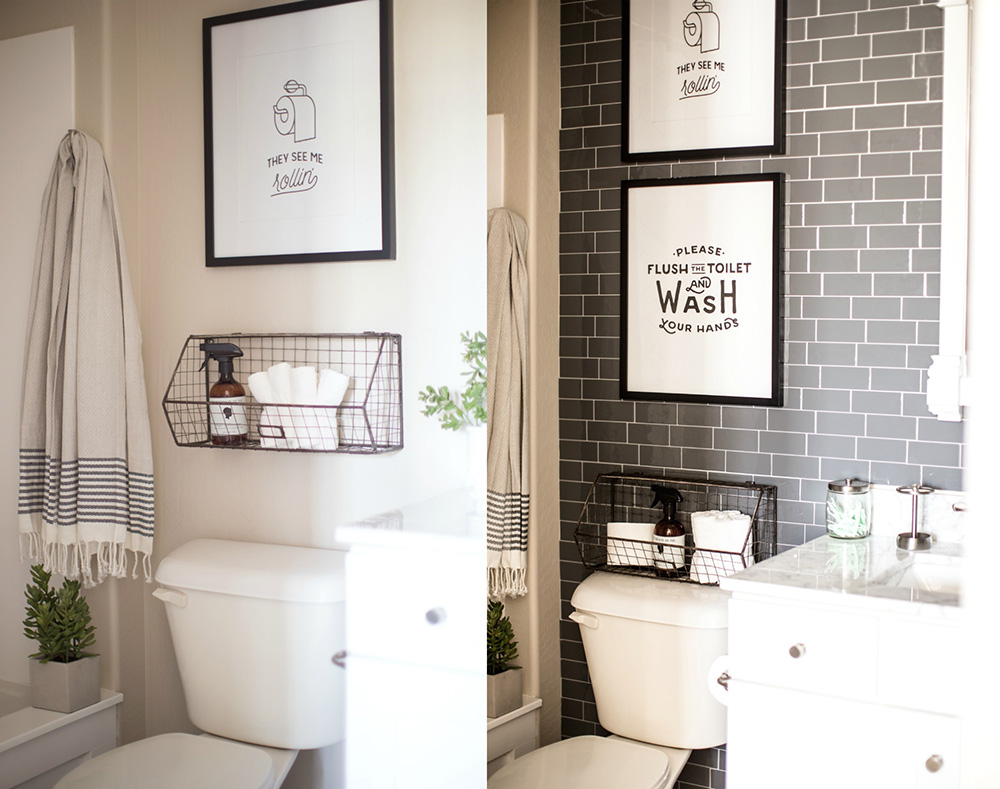
You Can Transform Your Bathroom Easily And Without Breaking The Bank
If you are installing these over ceramic or marble, the grout seems absolutely have to be flush to the top of the tile, as otherwise the tiles will stick to the indents and end up being uneven. These gaps are an open invitation for mold and mildew, and the tiles can end up falling off. You can fill in the grout lines with more grout if you want to even out the floors ahead of time.
Make sure you measure the entire area before starting to stick the tiles on. Make sure you have enough to cover the whole space, and get some extra to fill in any extra gaps that are along the sides. You can ensure you don’t end up with any awkward gaps by lining up the tiles without removing the backing. This will allow you to plan how you will lay down the tiles and see if there are any issues before you start. You can place partial tiles in hidden areas like corners or wall bases, so that if they don’t line up perfectly, it isn’t as noticeable.
When removing the backing, don’t do it all at once. Start with a small corner and make sure the tiles are flat and oriented correctly and move slowly so that you can ensure everything looks right. Use the arrows on the backing paper to help guide you. Try to keep extra sheets on hand if you need to make any repairs.
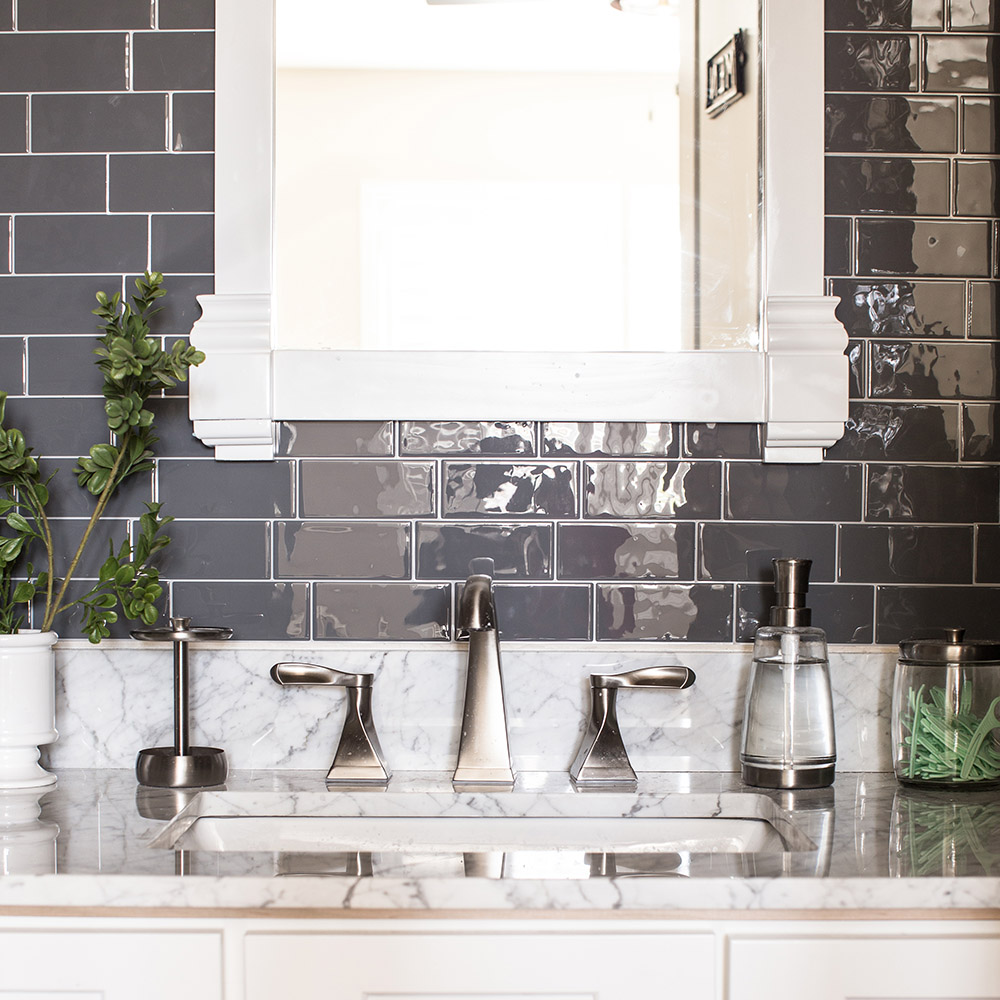
This Is A Great Soltuion For Renters As Well


