Planning And Materials
Planning and Materials
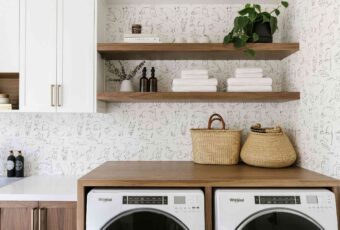
Start by determining the size and style of your shelf. Measure the available space and decide on the dimensions that best fit your needs. Next, gather your materials, which typically include wooden planks or boards, screws, a saw, a drill, sandpaper, and wood stain or paint. Choose quality lumber that suits your aesthetic preference and fits well with your home decor.
Cutting and Assembling
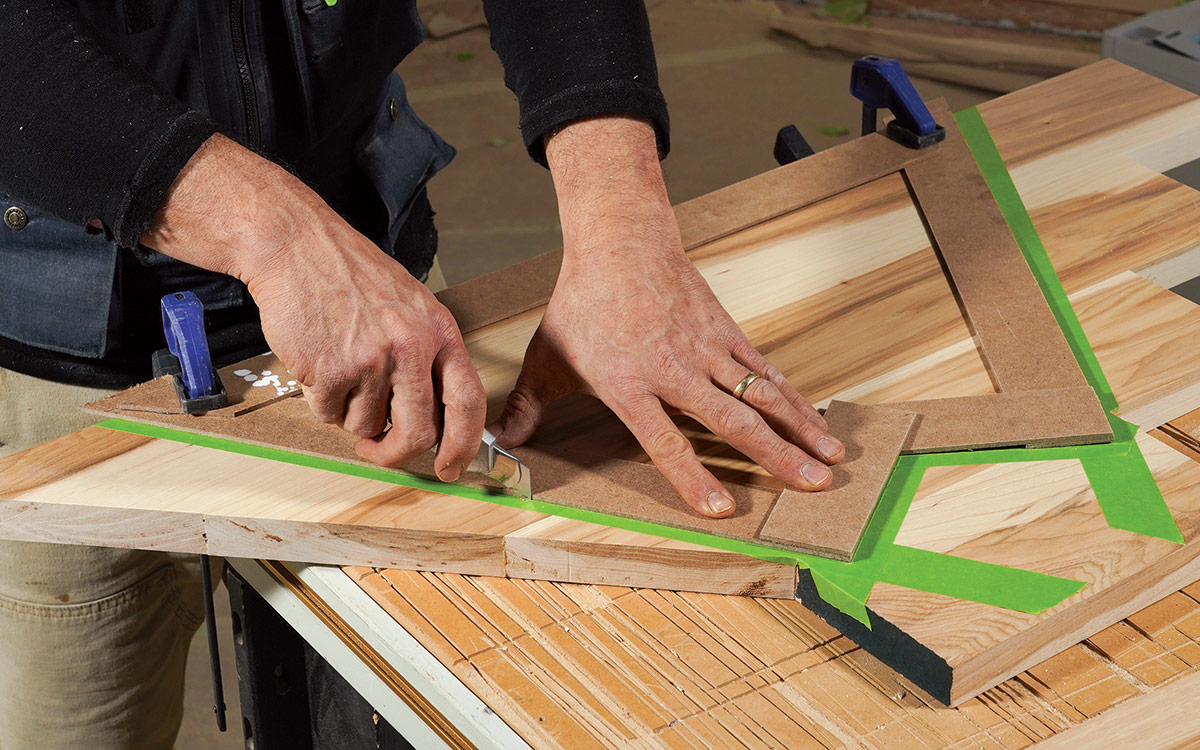
Using the saw, cut the wooden planks to the desired length for the shelf’s top and sides. Sand the edges to smooth out any roughness. Assemble the shelf by attaching the sides to the top using screws. Ensure the pieces are aligned properly to create a sturdy structure.
Cutting And Assembling
Adding Support
To ensure the shelf can hold the weight of your desired decor items, attach a support piece to the back of the shelf. This can be done by screwing a wooden brace across the backside of the shelf, connecting the two side pieces. This brace will add strength and stability to your shelf.
Adding Support
Sanding and Finishing
Once the shelf is assembled, sand all surfaces to achieve a smooth finish. Pay special attention to the edges and corners to avoid splinters. Depending on your preference, apply wood stain or paint to the shelf. Choose a color that complements your room’s decor and enhances the shelf’s visual appeal.
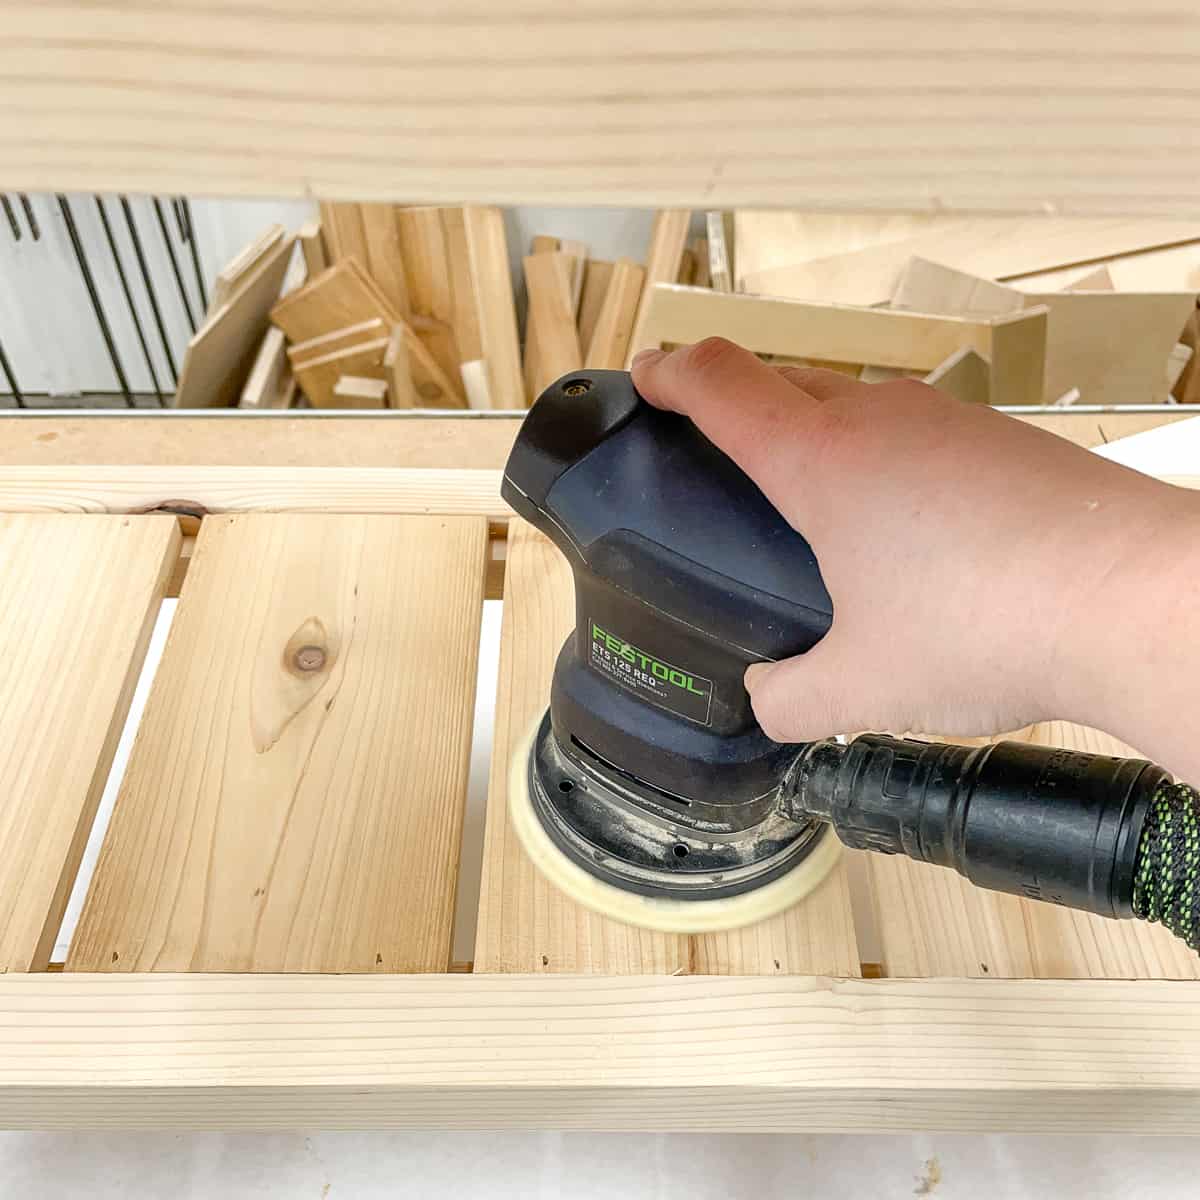
Sanding And Finishing
Mounting the Shelf
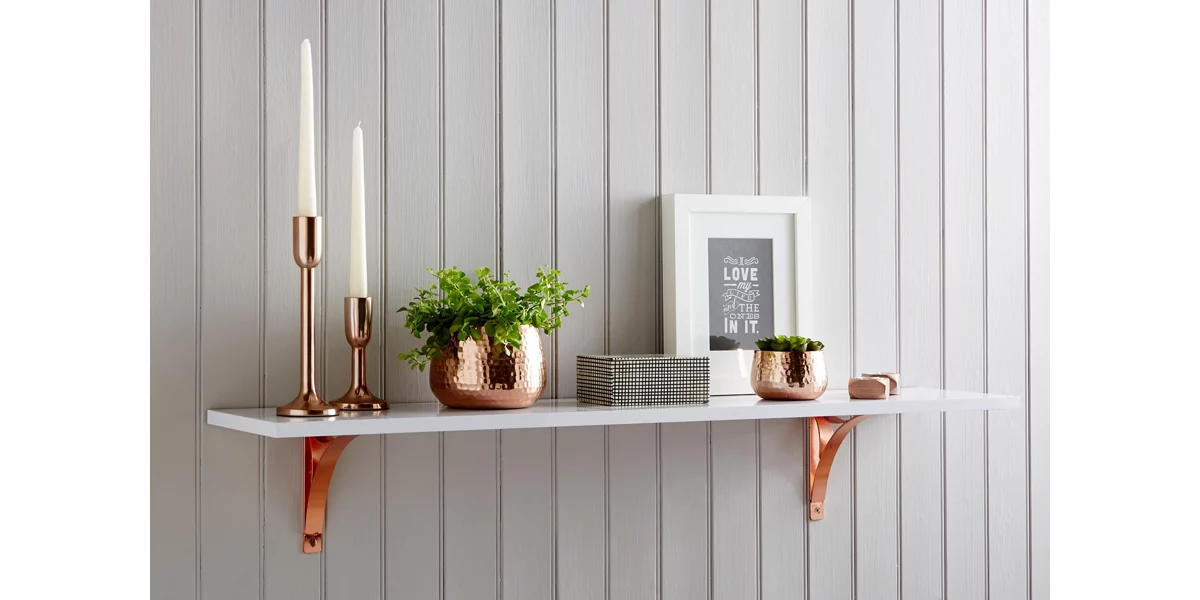
Decide where you want to place the shelf and mark the mounting points on the wall. Use a level to ensure the shelf will hang straight. Drill pilot holes into the wall and then attach the shelf using appropriate screws or wall anchors, depending on your wall type.
Mounting The Shelf
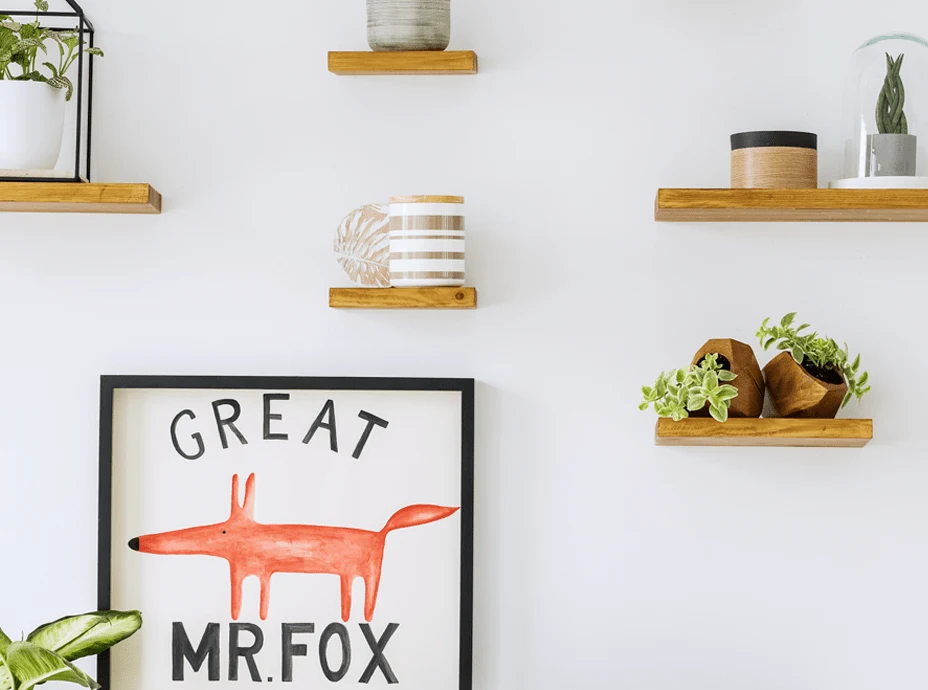
Decorating the Shelf
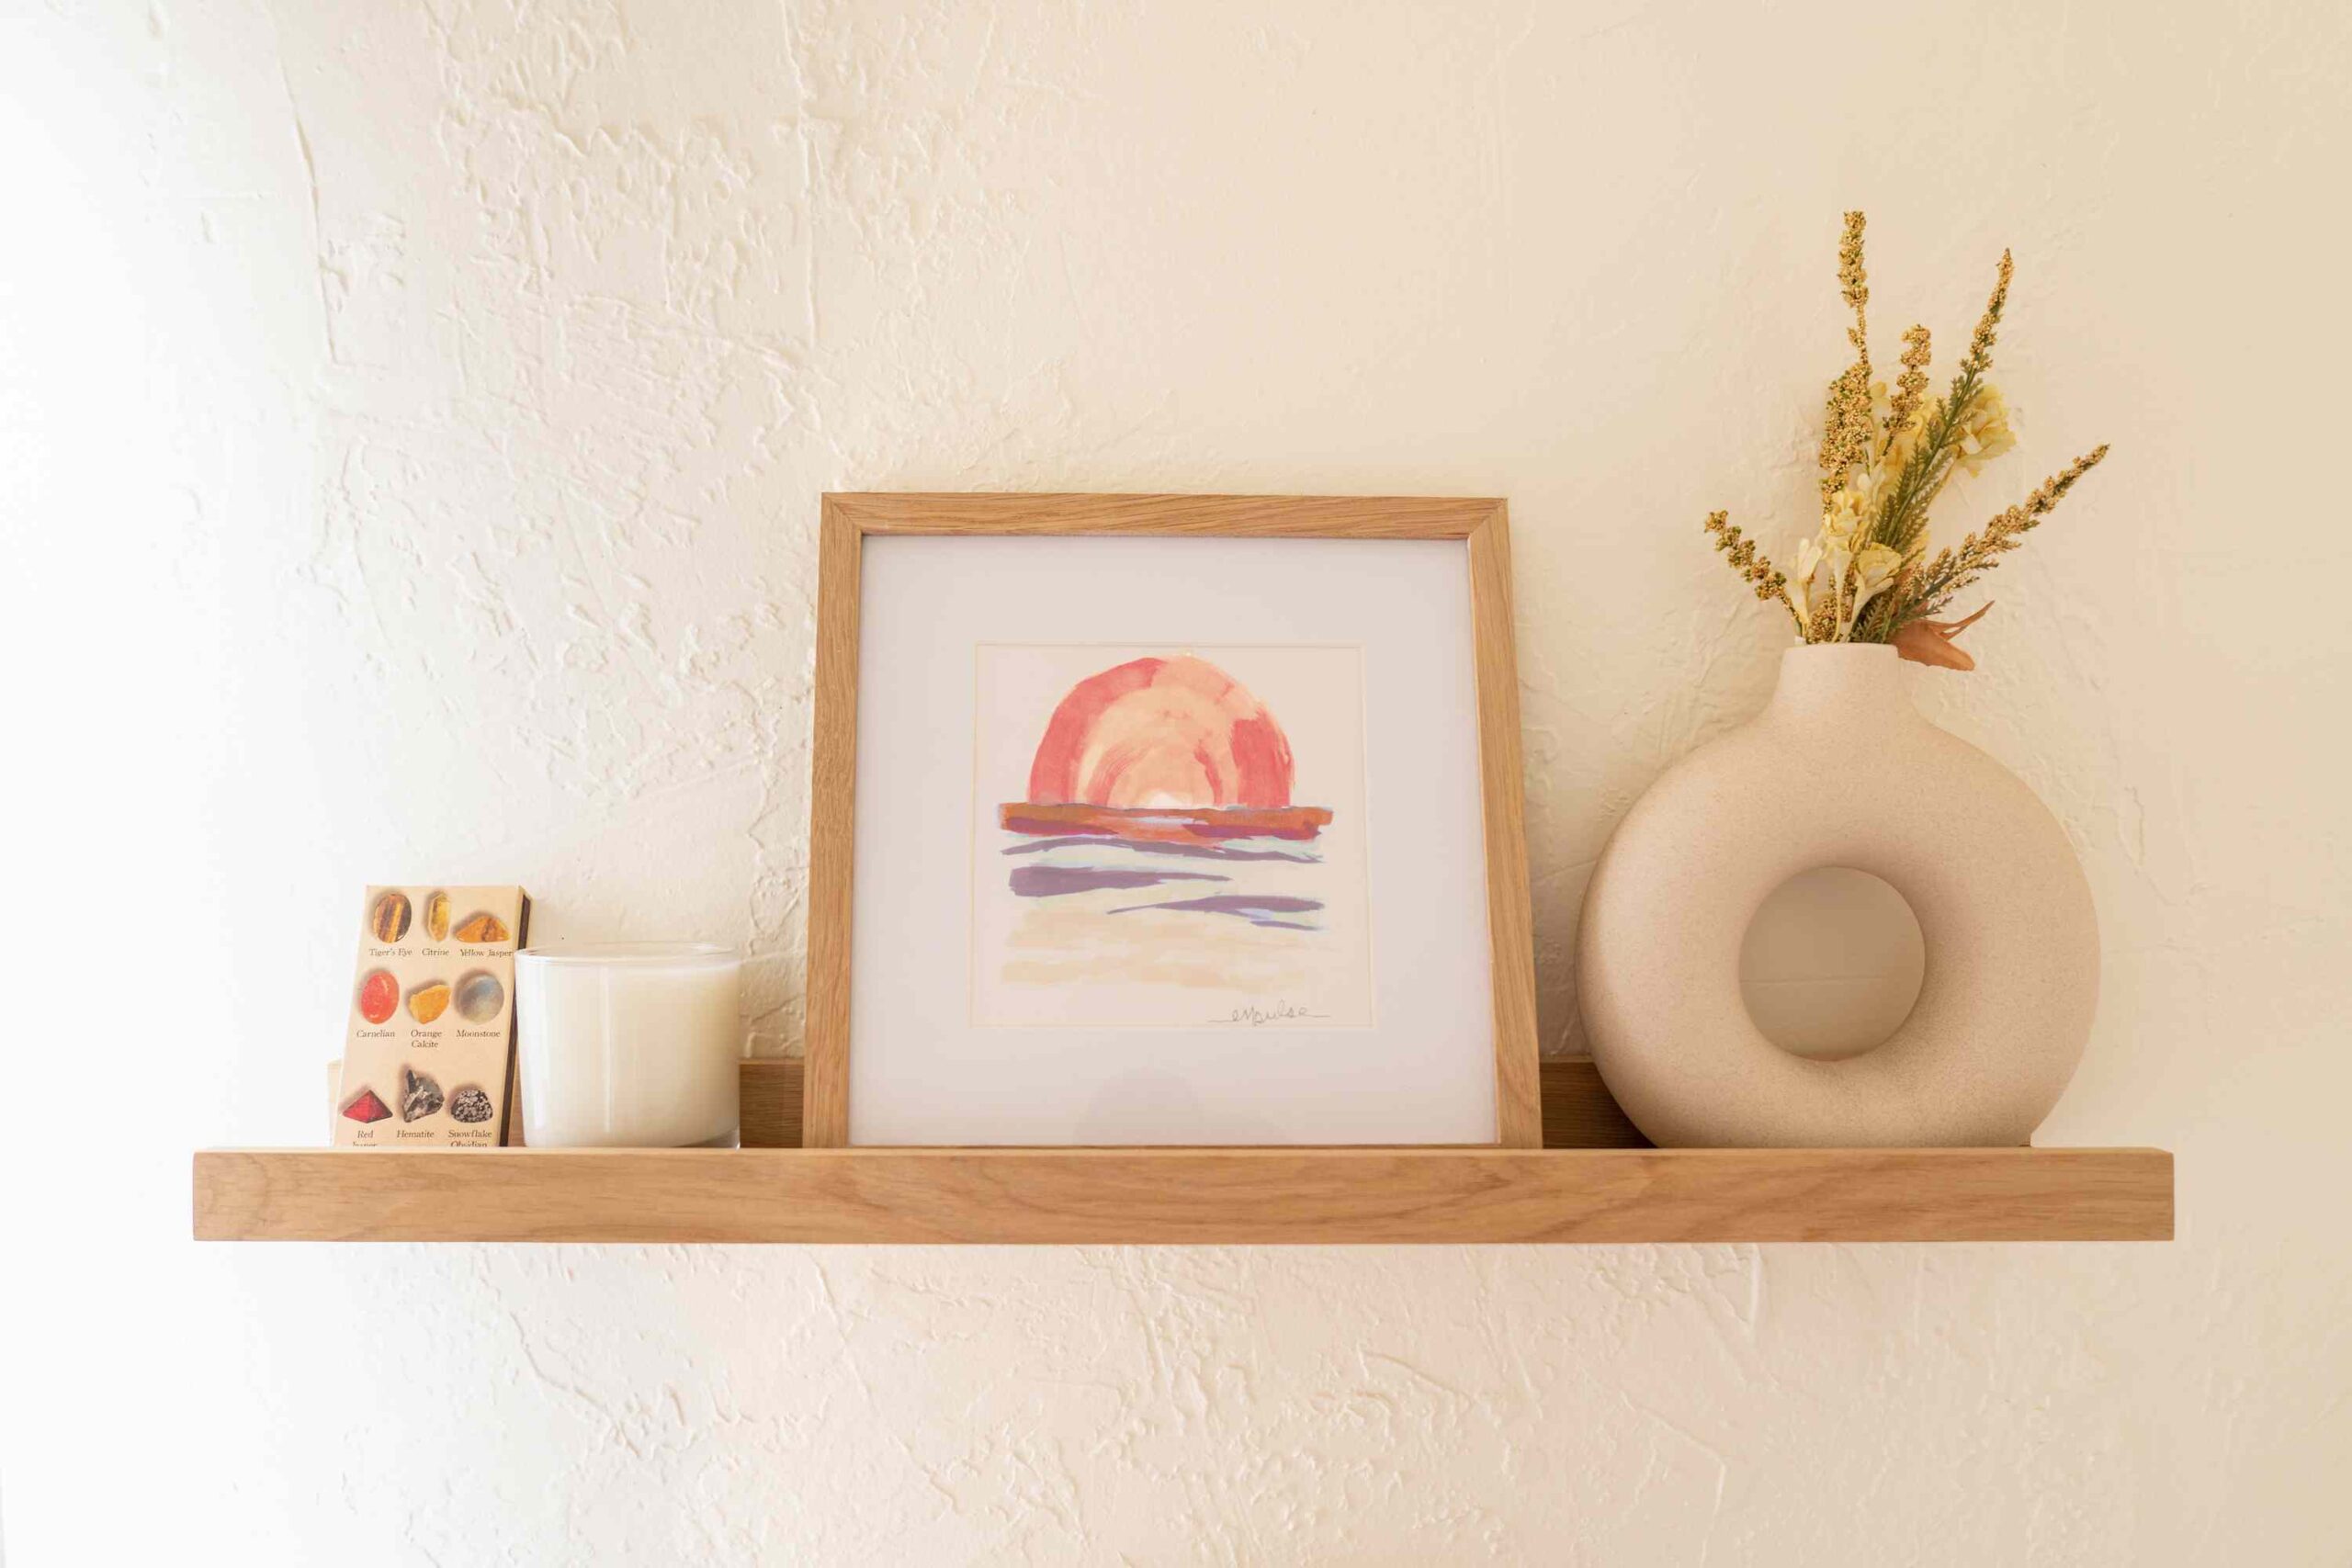
Now that your DIY shelf is securely mounted, it’s time to adorn it with your favorite home decor pieces. Displaying plants, framed photos, books, or decorative items can infuse personality and charm into your space. Arrange the items creatively to achieve a balanced and visually appealing look.
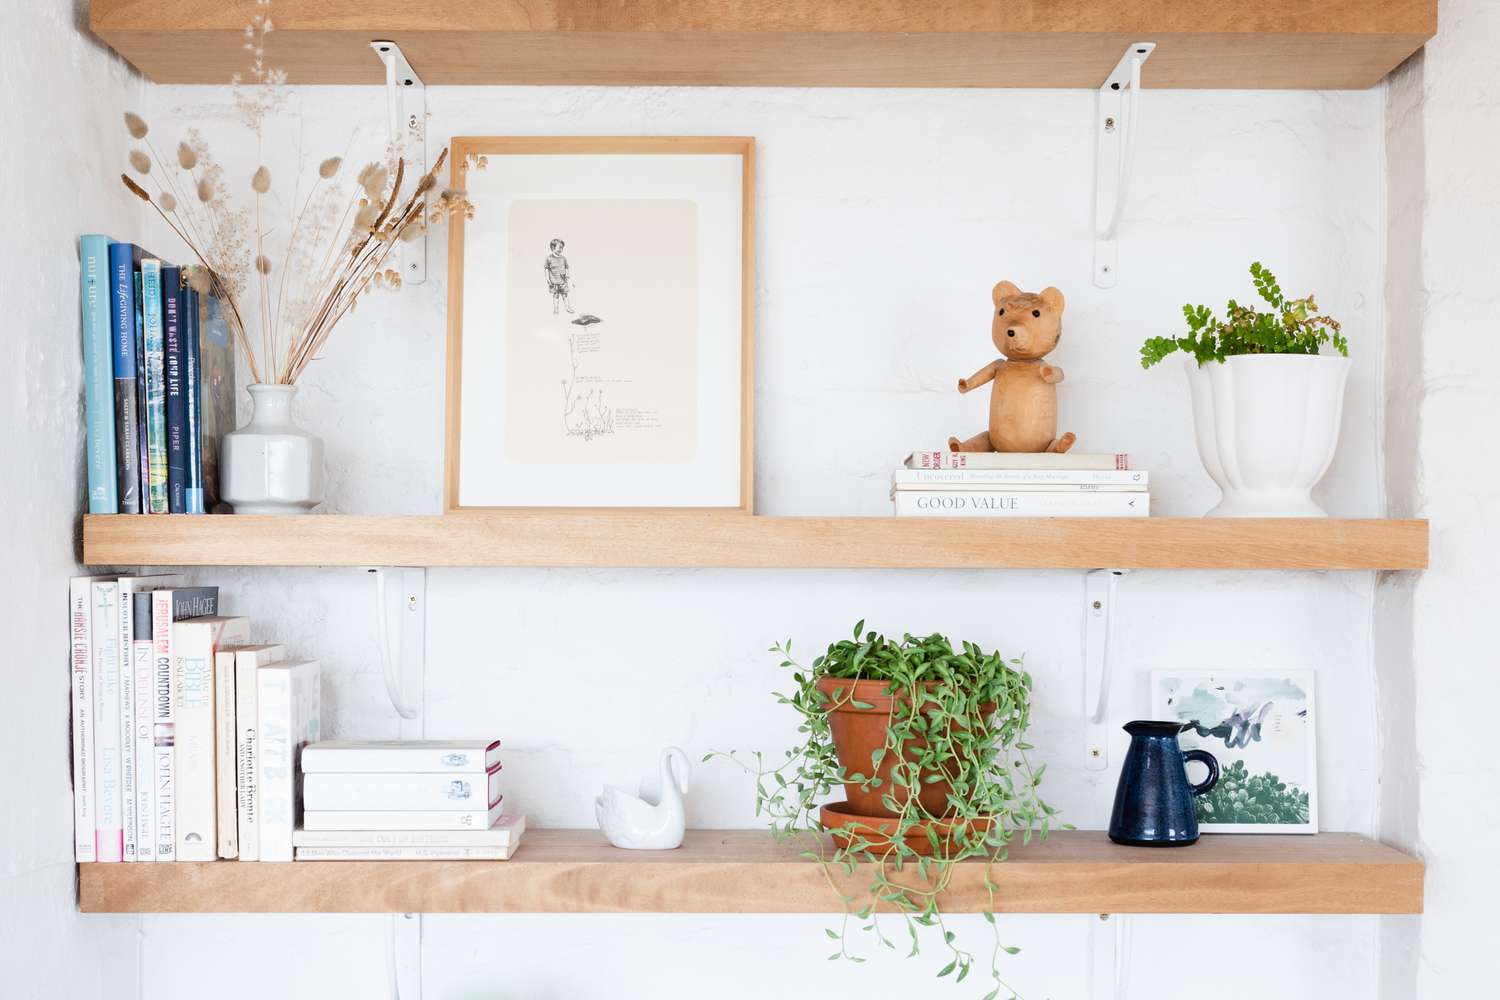
Decorating The Shelf