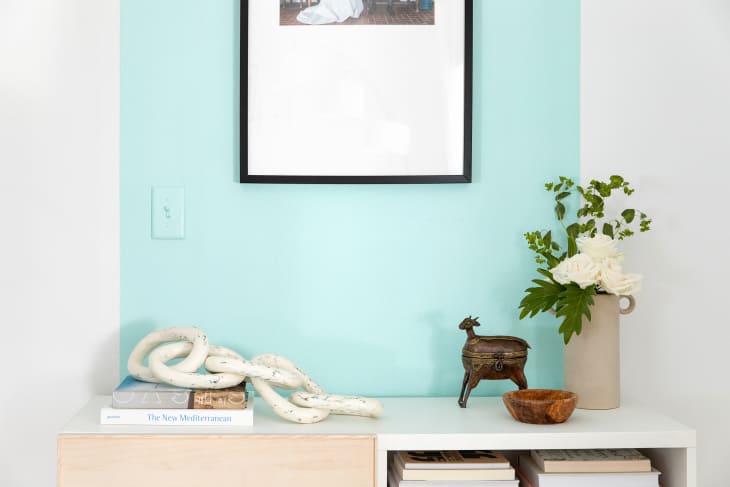
Paint The Light Switch So It Blends In
Adding an accent wall, or even a mural if you’re up for it, is a fantastic way to add some drama to your home. Accent walls are relatively simple to do and don’t requite as much work (or paint!) as painting the entire room. You can choose a bold color to really make the room stand out.
Of course, if the wall in question has a light switch on it, it can sometimes stick out like a sore thumb. A lot of people aren’t sure what can be done, so most people just paint around it and leave it be. But it doesn’t have to be that way.
In fact, there’s a simple solution: just paint it too! Yes, it is that simple. It does seem a little revolutionary, because who ever thought to paint a light switch? However, it’s a perfect way to make sure the light switch cover blends into the wall and doesn’t stand out.
You just need to make sure you prep the light switch cover properly before painting it in order to avoid flaking or peeling. This trick also works for outlets. Here’s what you need to do.

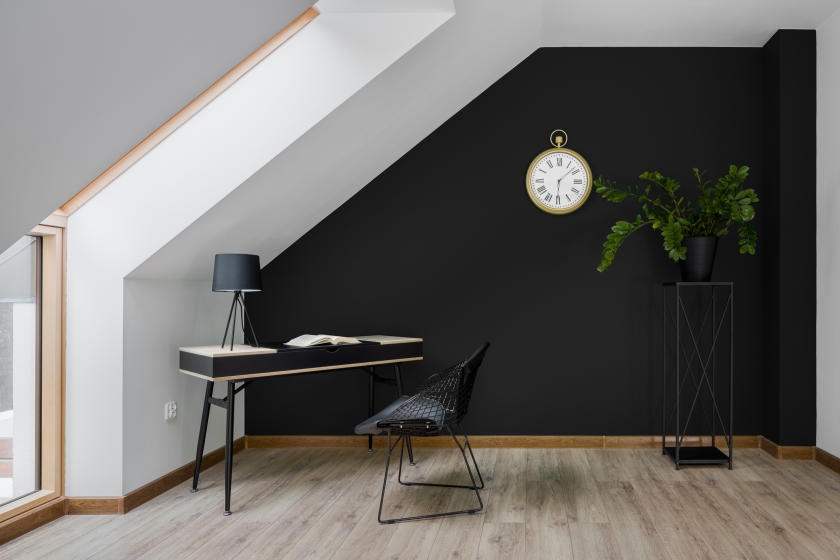
Accent Walls Take The Room To The Next Level
What You Need
-400 grit sandpaper
-tack cloth
-painter’s tape
-primer
-paint roller
-small paintbrush
-wall paint
Make sure before you begin by first cutting the power before getting near any power source with a paintbrush, your safety is the priority. Remove the switch plate and set it aside. Tape over the electric box so that the switch is still exposed.
Sand down the light switch, plate, and screws with the sandpaper. This is to ensure that the primer and paint stick. Make sure you remove the sanding dust with the tack cloth before moving on.
Apply a thin layer of primer to the switch and screws and allow it to fully dry. Remove excess primer so you can avoid any buildup. Flip the switch and repeat the process in the other position. Prime the switch plate with your roller so you can match the wall finish. Allow to fully dry.
You Can Also Paint Outlets To Blend In
Using a paint roller, apply an initial layer of paint on the switch plate and screws on top of some spare cardboard. Allow to fully dry and then repeat the process.
Take the small paintbrush and apply a layer of paint on the switch just like you did with the primer. Remove any excess paint and allow it to fully dry before repeating the process in the opposite position. If the paint looks thin, it’s okay, it is better to paint two or three thin layers rather than trying to get full coverage with one thick layer.
After everything has fully dried, cover the screws with a paper towel and reattach the switch plate. You can now turn the power back on and that’s it. You’ve got a fantastic accent wall.