Redo Your Tiles Yourself
Plan and Prepare
Start by assessing the condition of your shower tiles. Determine whether you want to replace all the tiles or focus on specific areas. Create a design plan, choose the desired tile style, and calculate the number of tiles you’ll need. Next, prepare the surface by thoroughly cleaning and removing any existing grout or caulking. Ensure the surface is smooth and free of debris before proceeding.
Remove Old Tiles
To redo the shower tiles, you’ll need to remove the old ones first. Use a hammer and chisel to carefully chip away the tiles. Take precautions to protect yourself and the surrounding areas, wearing safety goggles and covering nearby fixtures with drop cloths. Work systematically, removing one tile at a time, until all the old tiles are removed.
Prepare the Substrate
Once the old tiles are removed, inspect the substrate for any damage or imperfections. Repair and patch any cracks or holes using a suitable filler or cement-based compound. Allow it to dry thoroughly before proceeding. If the substrate is in good condition, clean it thoroughly and ensure it’s level before moving on to the next step.
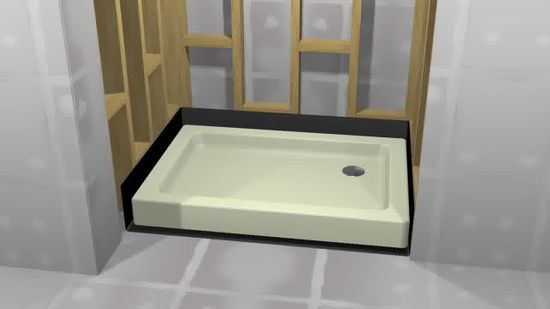
Prepare The Substrate
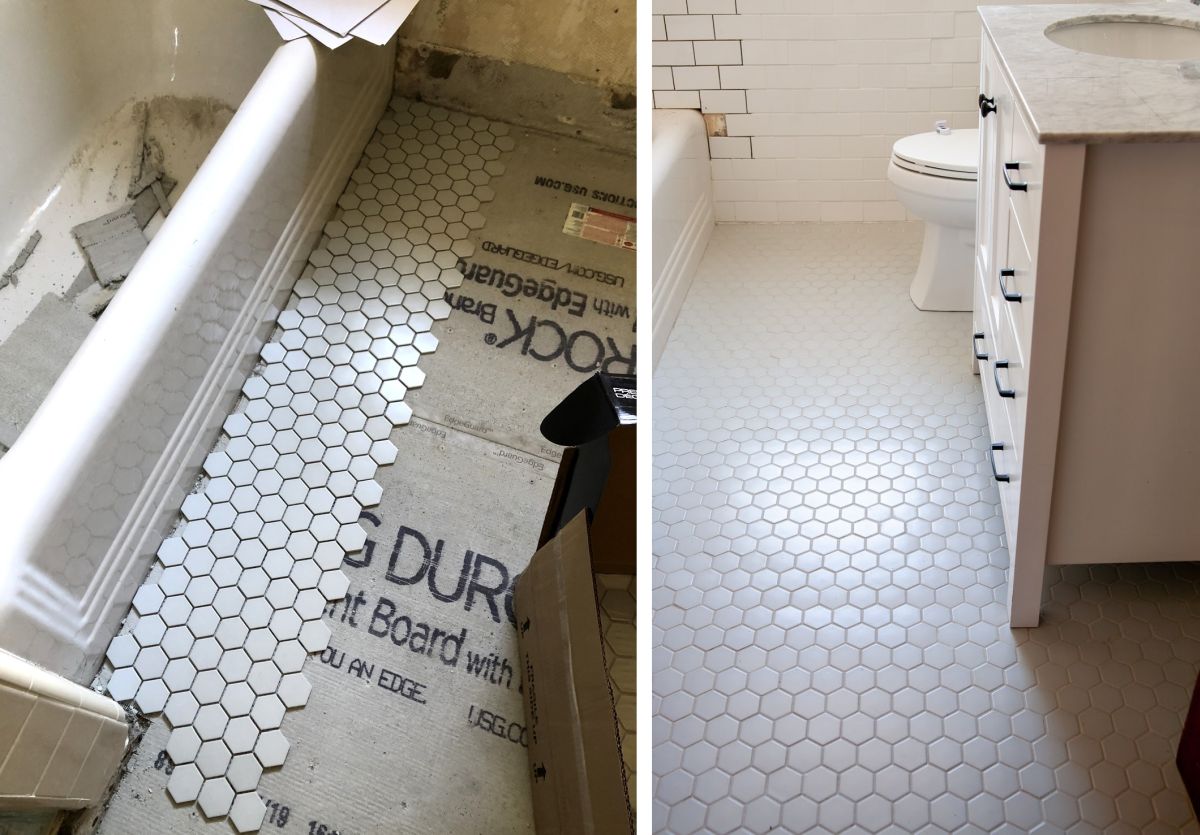
Install New Tiles
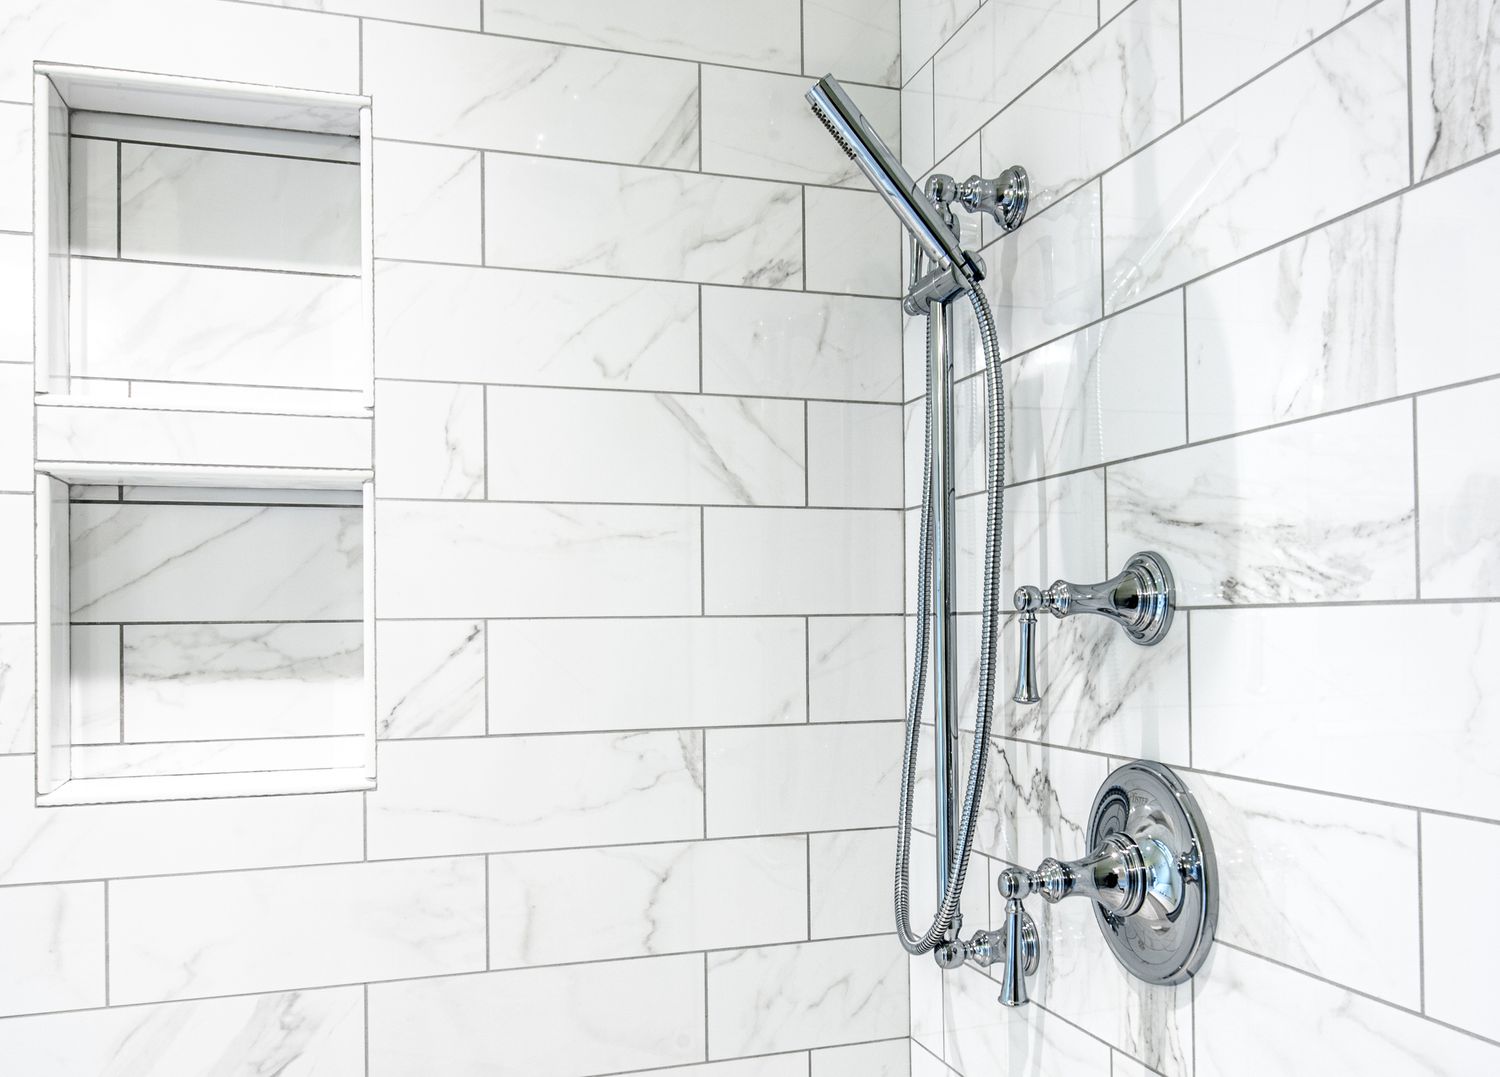
Begin by laying out the new tiles according to your design plan. Apply an appropriate adhesive to the substrate using a notched trowel, then press the tiles firmly into place. Use tile spacers to ensure even spacing between the tiles. Work in small sections, applying adhesive and laying tiles until the entire shower area is covered. Allow the adhesive to dry according to the manufacturer’s instructions.
Grout and Seal
Once the tiles are firmly in place, it’s time to apply grout. Mix the grout according to the instructions and use a grout float to spread it evenly over the tiles, filling in the gaps. Remove excess grout using a damp sponge, being careful not to remove too much from the joints. Allow the grout to dry before applying a grout sealer to protect and prolong its lifespan.
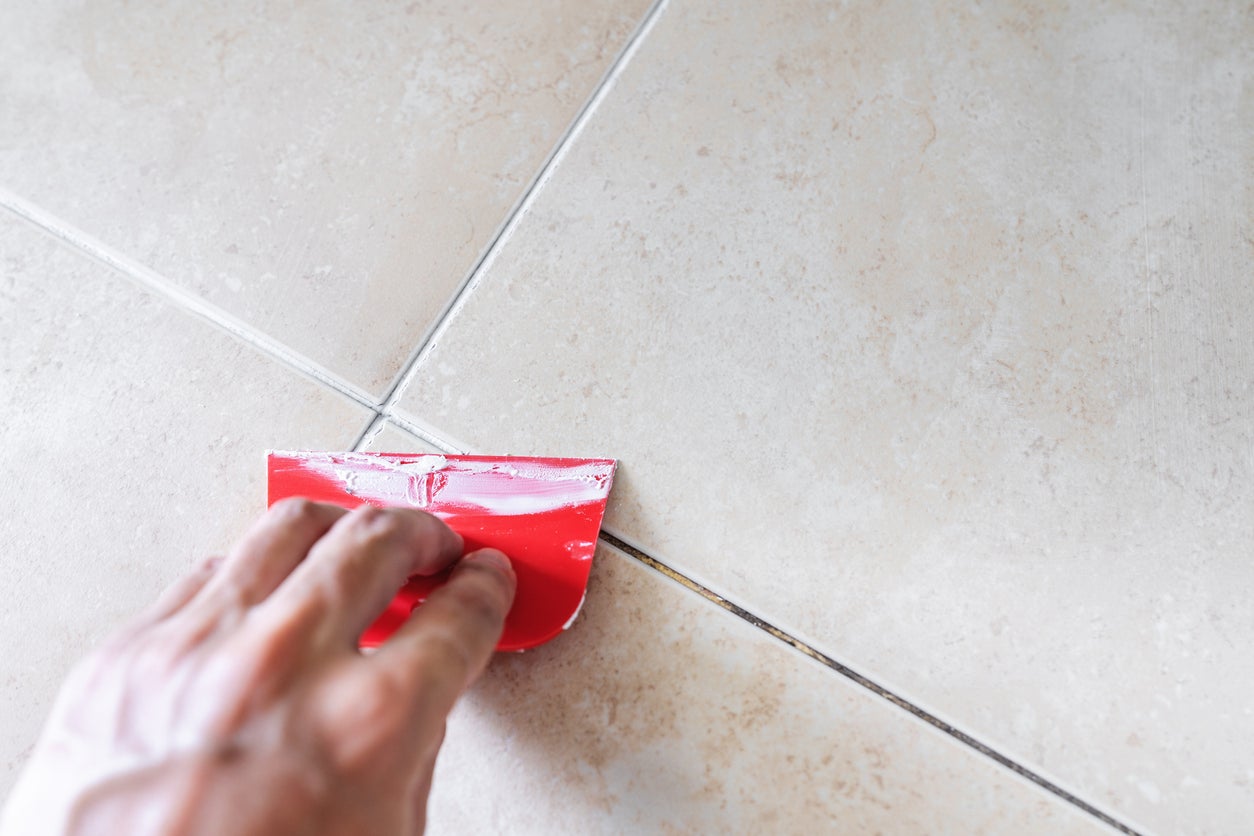
Grout And Seal
Finishing Touches
After the grout has fully dried, inspect the tiles for any residue or haze. Clean the tiles with a grout haze remover if necessary. Finally, reseal the shower corners and edges with a suitable caulking to prevent water damage.
Final Product