Gather Your Supplies
Gather Your Supplies
Before you begin, make sure you have all the necessary supplies on hand. You’ll need removable wallpaper, a utility knife or scissors, a measuring tape, a level, a pencil, and a squeegee or a clean, dry cloth.
Prep Your Walls
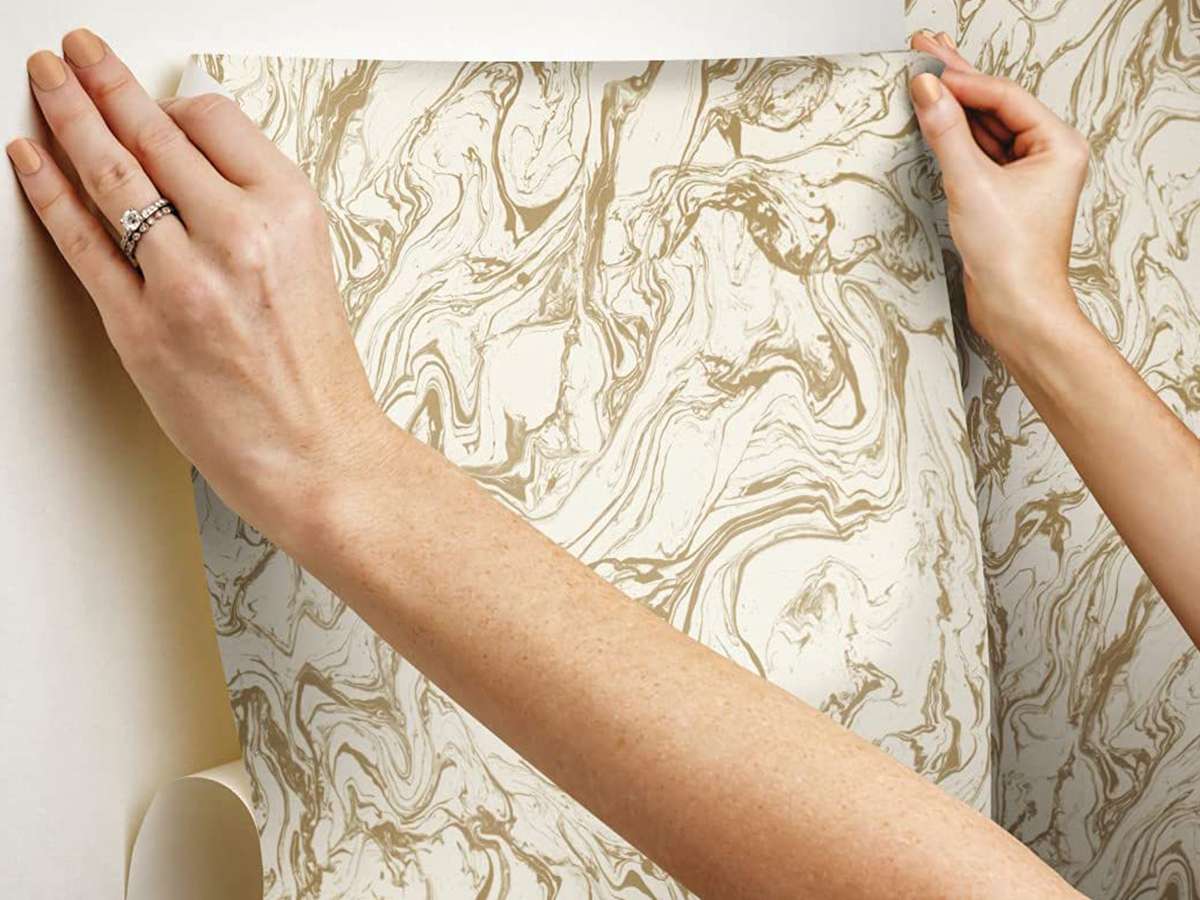
Start with clean and smooth walls. Remove any existing wallpaper or adhesive residue, and fill in any holes or imperfections with spackle. Sand the walls if needed, and wipe them down to ensure they are dust-free.
Prep Your Walls
Measure and Cut
Measure the height and width of your wall and cut the removable wallpaper accordingly. Leave a little extra at the top and bottom to account for any uneven ceilings or floors. This excess can be trimmed later.
Begin Application
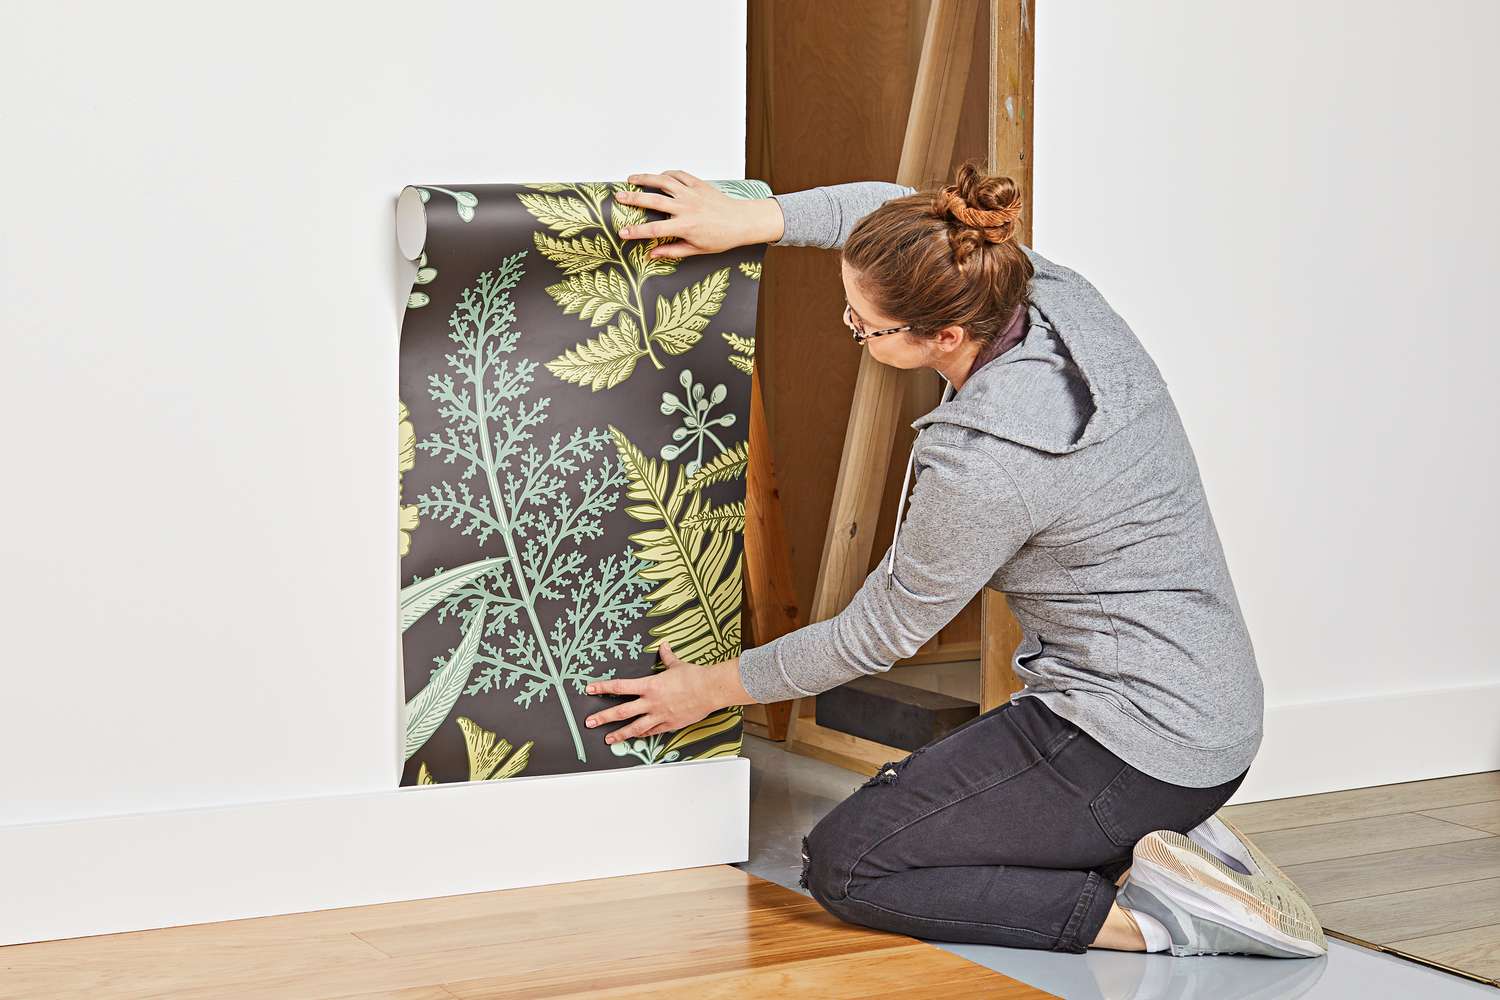
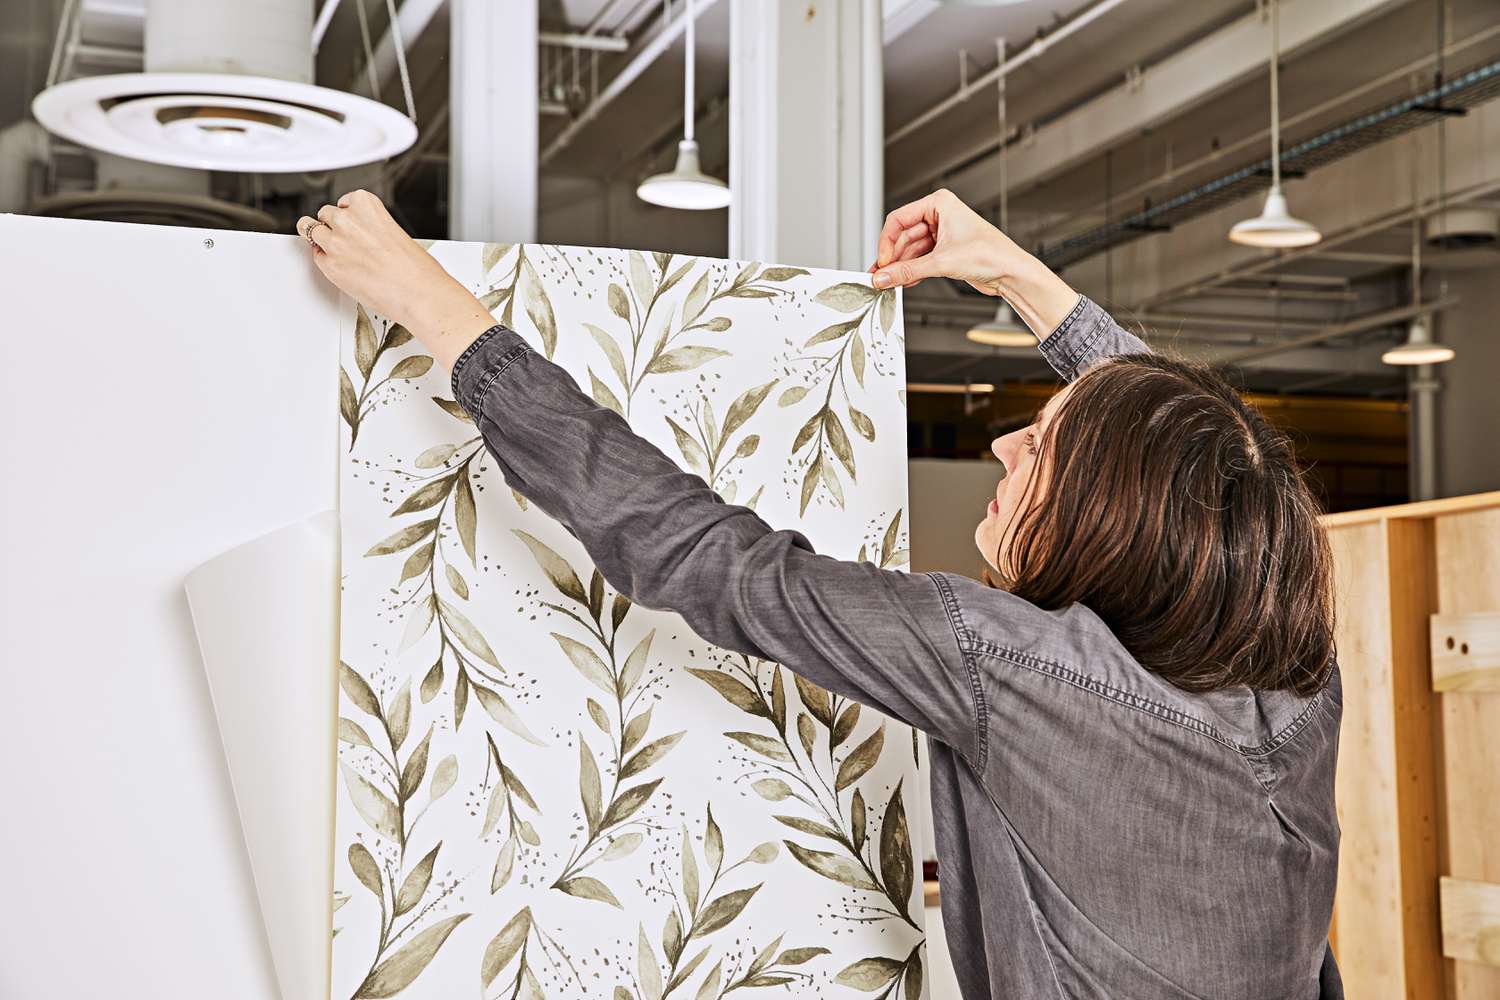
Starting from the top, gently peel off the backing of the wallpaper, exposing the adhesive side. Align the top of the wallpaper with the top of the wall and press it into place. Use a squeegee or cloth to smooth out any air bubbles as you work your way down the wall.
Begin Application
Align Patterns and Corners
If your wallpaper has a pattern, take care to match it as you apply each panel. Ensure that the seams align correctly. For corners and edges, use your utility knife or scissors to trim the excess, making sure to follow the contour of the wall.
Finish and Enjoy
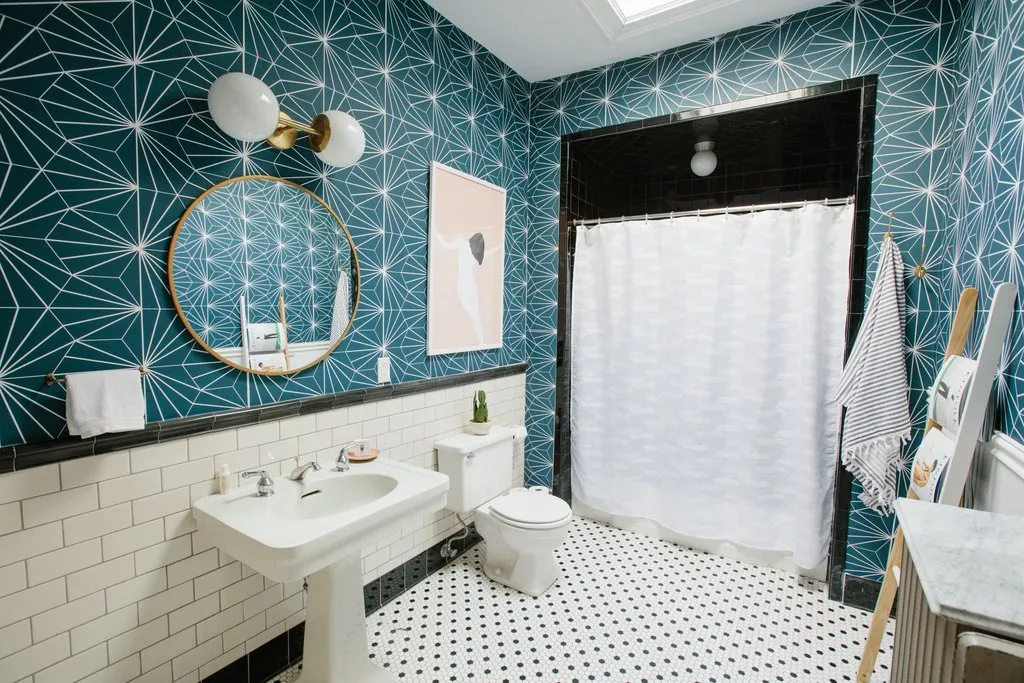
Once you’ve covered the entire wall, go over it with a squeegee or cloth once more to ensure a firm adhesion. Stand back and admire your transformed space. Removable wallpaper is perfect for renters or those who love to change up their decor frequently. If you ever want to remove it, simply peel it off without damaging the wall underneath.
Finish And Enjoy


